You don't have to exactly follow this tutorial to achieve the effect you want. This tutorial will give you the basics of what you need to create this cool effect. Use your imagination and creativity, think of the perfect angle and perspective that best fits your picture. And you might come out with something as cool as the images below..
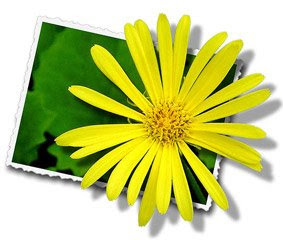
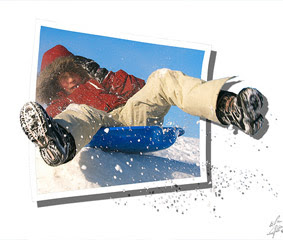

1. Open your image. Duplicate it. Turn off the original image. Use the duplicate image to continue with the rest of the tutorial.
2. Select the Polygonal Lasso Tool (L). Draw the shape below:
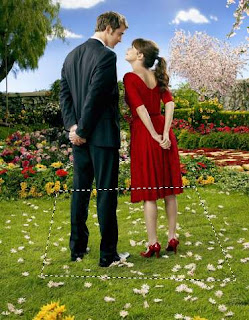
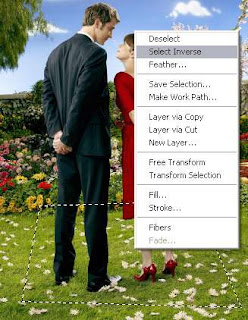
Then, right click in the selection area and choose Select Inverse.
3. Go to Filter > Extract. A new window will open. Now, we want to delete the background outside the rectangle. Zoom in the image (CTRL ++). Select the Edge Highlighter Tool (B) at the top left. Set the brush size at the right hand side and trace around the edge of the image. Use the Smart Highlighting feature at the bottom of the brush setting to trace around well-defined edges. After you've done tracing, you'll have something like this:
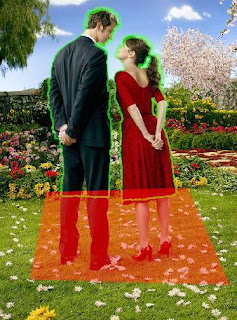
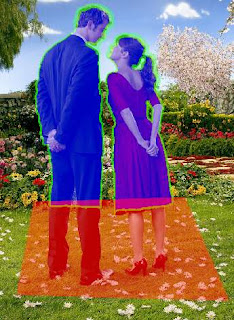
4. Now select the Fill Tool (G) and click inside the traced area. You'll have this:
5. Hit the preview button. Use the Edge TouchUp Tool (T) to smooth the edges and the Cleanup Tool (C) to erase the unwanted area. After you're done, click OK. This is my result:
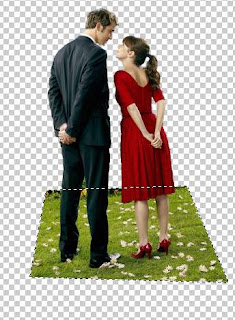
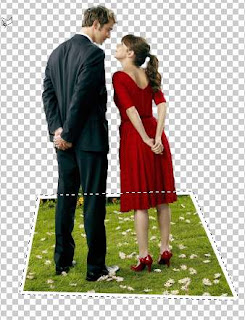
6. Note that, we still have the selected area (the dashed line). Click on the image and choose Select Inverse. Now, we're selecting the rectangle again. Go to Select > Modify > Expand. When a small window open, set it to 10 pixels.
7. Create a new blank layer and drag it below our image. Then, fill that layer with #ffffff (white). Go to Edit > Fill and choose the color white. You'll get this:
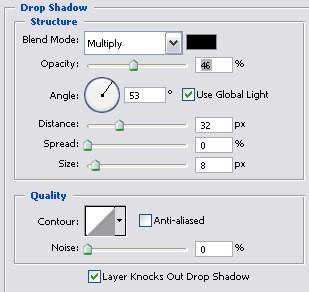
8. Right click the fill layer in the layer palette and select Blending Option. Choose Drop Shadow at the left hand side. Click on the Drop Shadow text to open the option. Use the following setting.
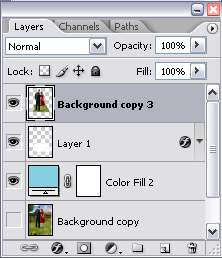
9. Next, go to Layer > New Fill Layer > Solid Color. Select whatever color you want for the background. Mine is light blue. Now drag this new fill layer underneath all the other layers. Here's what your layer palette should look like:
10. If you're satisfied with what you've got, you can stop here. If you want to add some extra effect..continue with the next step.
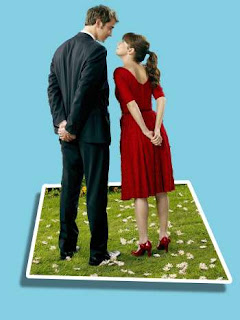
11. Turn off the blue background layer for a while by clicking the eye icon beside that layer. Select the top layer and hit CTRL+SHIFT+E to emerge all the visible layers. Then, you can turn the blue background layer back on.
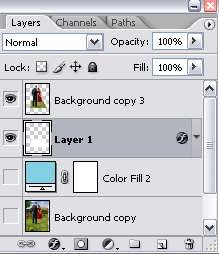
11. Now, working with the top layer, go to Edit > Transform > Skew. Adjust the skewness until you find something you like.
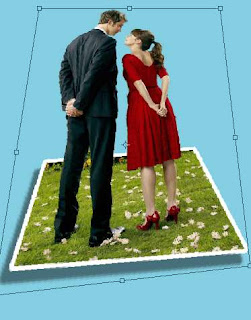
Hit Enter and..congratulation, you've added an extra dimension to your photo.


0 Comments:
Post a Comment