Showing posts with label Photoshop Effect. Show all posts

Metallic Toning Effect on your Portrait

Not sure what to call this effect. It makes the color of the portrait quite metallic, like your skin was made of silver, bronze or maybe copper. I've seen it a couple of times in magazines when they have a big portrait of a stranger spread on a full page. So maybe it's about time I write something about this effect.

Who would be more perfect for this metallic effect other than the Iron Man actor, Robert Downey Jr. Take a look at the 'before' and 'after' image below...so you'll have an idea of what I'm talking about.


1. Naturally, you should start by opening your image in Photoshop.

2. Next, duplicate the image. Set the duplicate image layer to Overlay.


3. With the duplicate image layer selected, go to Filter > Other > High Pass. Our goal here is to sharpen the image a little bit, so you can see some details on the skin tone. If you already have a high resolution image, no need to set the radius too high. Mine is set to 5.


4. Now go to Image > Mode > Grayscale. If a message appear asking you to merge the layer, don't panic, just click 'Merge'.


5. Next, go to Image > Mode > Duotone. Select Quadtone on the Type dropdown menu. Then, click the 'Load' button on the right.


A window will open, select PANTONE(R) QUADTONES folder. And select the file Bl 541 513 5773 and click Load. You'll have something like below and click OK.


6. Now, change the mode back to RGB. Go to Image > Mode > RGB Color.

7. Duplicate the image. And set the duplicate layer to 'Color Burn'. Set the opacity to 20%.


8. We're gonna add some adjustment layers to amplify the effect. Go to Layer > New Adjustment Layer > Curves. Make an S-shape curve like the image below. The steep of your curve is up to you, whatever looks good on your image.


9. Now go to Layer > New Adjustment Layer > Level. Adjust the level as follows.


And we're done. You got yourself one explosive metallic portrait.

Make the Reds Pop in Photoshop

Because ordinary picture is not an option..I'm gonna teach you how to achieve the extra-ordinary color in your digital photograph. We're gonna figure out how to make the reds pop and the yellows mellow..if you have blues, then, we'll just make them sparkle. How about all that for a very cool postcard..or a little bit of awesomeness to add to your digital art. And PSD file is included at the bottom of this post.

Just how popping the reds will be? Take a look at some examples below..


1. Open you image in Photoshop. Preferably, use the image with some reds on it. Otherwise, you're defying the whole purpose of this tutorial.
2. Duplicate your image. Set the layer mode to 'Screen'. And the opacity setting will depend on what type of picture you have. If it's a slightly dark picture, use high opacity setting. Or add another Screen layer if necessary. Just pick a number now. Later, when you're done with all the steps, we can still adjust the opacity for the best result. Unlike life decision, we always have a rewind button here.

3. Next, duplicate the image one more time. Set the layer mode to 'Soft Light'. We're trying to make the overall color pops. Set the opacity around 40 - 50%...or whatever lucky number you like.

4. Now, go to Layer > New Adjustment Layer > Selective Color.
Use the settings below for Reds.


And use the settings below for Neutrals. Click OK.


5. Next, go to Layer > New Fill Layer > Solid Color. Set the color value as shown below.


Set this Color Fill layer mode to Exclusion at 100% opacity.


6. Again, go to Layer > New Adjustment Layer > Selective Color. A little bit more work to do here. Set the settings as follows:


7. Next, go to Layer > New Fill Layer > Solid Color. Set the color value as shown below.


Set this Color Fill layer mode to Lighten at 70% opacity.

8. Again, go to Layer > New Fill Layer > Solid Color. Set the color value as shown below.


Set this Color Fill layer mode to Exclusion at 80% opacity.

9. I promise you, this will be last Color Fill layer you need to do. Go to Layer > New Fill Layer > Solid Color. Set the color value as shown below.


Set this Color Fill layer mode to Exclusion at 10% opacity.

10. Next, go to Layer > New Adjustment Layer > Curves. We're just gonna do the S-curve for the Reds and the inverted S-curve for the Blues. See images below:


We're actually done here. But if your image doesn't look so good, you can go back to some of the layers and adjust the opacity, until you got something good. If still no improvement, then maybe today's not your lucky day..try again tomorrow =)

Unlike your boss, it's always our goal here to make your life easier. Don't feel like reading the whole tutorial? Maybe just download the PSD file below and start working from there.

DOWNLOAD RedPOPPING PSD

Create a Dreamy Angelic Effect on your Photo

Well, everybody knows you're not an angel..but at least your picture looks like one. Today I'm gonna reveal to you how to create a dreamy glowing angelic effect using Photoshop. Who knows it's so easy to look like you're just came down from heaven. In 4 easy steps you'll be glowing all over like there's no tomorrow. Here's a sample of the effect we're gonna learn from this tutorial:


1. Open your image. Duplicate it.


2. Select the duplicate image on the layer palette. Then, go to Filter > Distort > Diffuse Glow. Adjust the settings on the right hand side until you got something like this:


This the setting I use for my image. Just play with the setting until you got the amount of glow you prefer.


3. Next, go to Layer > New Adjustment Layer > Brightness/Contrast. We're gonna increase the brightness and contrast a little bit. Below is my settings and the result:


4. Then, go to Layer > New Adjustment Layer > Color Balance. Now, our goal is to get the bluish effect shown below...or if you feel like experimenting on your own, go ahead and try other colorings.


This is the setting I use to get the above coloring. And yes, we're done ;) Now you get the glowing angel effect on your image.

Cross Processing Photo in Photoshop

This will be my last post....in 2009. Tonight or tomorrow (depending on which time zone you live in), we'll be celebrating the NEW YEAR! And there will be lots of pictures captured by your camera..So, I think it's a good idea to close our chapter in 2009 with a photo cross-processing tutorial.

When film was widely used in photography, cross-processing is defined as the procedure of deliberately processing photographic film in a chemical solution intended for a different type of film. Color cross processed photographs are often characterized by unnatural, retro colors with high contrast. (according to Wikipedia..well, I would never come out with such technical words on my own).

And today, cross processing effects can be simulated in digital photography by a number of techniques involving the manipulation of contrast/brightness, hue/saturation and curves in image editors such as Adobe Photoshop. And I'm gonna show you how to do Xpro with the Curves adjustment layers.


1. Open your image in Photoshop.

2. Next, we'll add some contrast to your photo. Go to Layer > New Adjustment Layer > Curves. Most image will do fine with an S-shaped curve. See image below on how to create an S-curve.


How steep your S-curve depends on your image. If you want steeper curve drag the upper point upwards more and the lower point downwards more. Below is my S-curve.


3. Now add one more curve layer. Go to Layer > New Adjustment Layer > Curve. Select "Red" as the channel. And again do that S-shape curve as shown below.


4. Don't close the Curves window yet. Select "Green" as the channel. And do the S-shape curve again.


5. Now, we'll continue with the 'Blue' channel. This time do the 'Inverted S-shape'. How you do it? Drag the upper point downwards and the lower point upwards. You'll get something like below.


After finishing with all the channels (Red,Green and Blue), click OK. Here's my layer pallete now.


And my final image..


Image credit

Ps: Remember, the shape of your S-curve depends on your image. Experiment with it until you got something you like.

And as a NEW YEAR's gift, I include the PSD file also free of charge.
-- DOWNLOAD CROSS-PROCESSING PSD

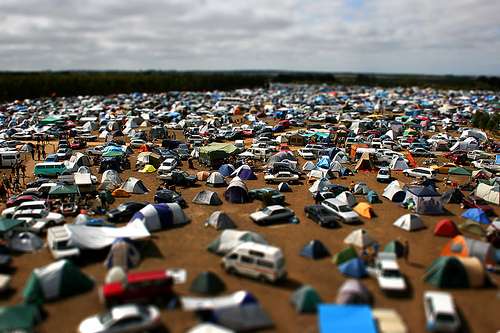
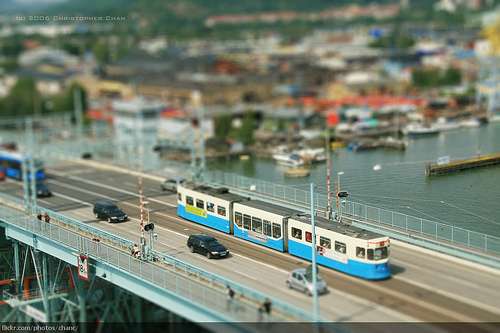
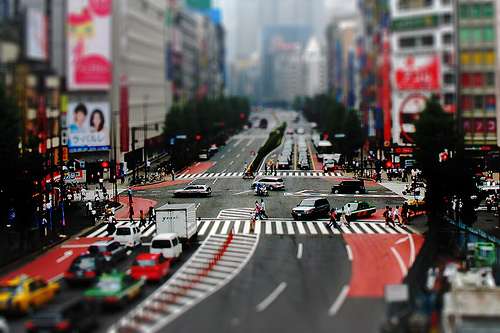
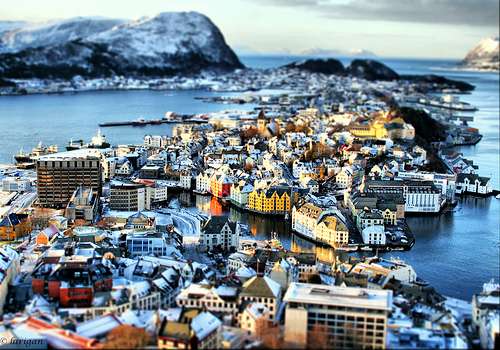
Fake Miniature Photography to Inspire You

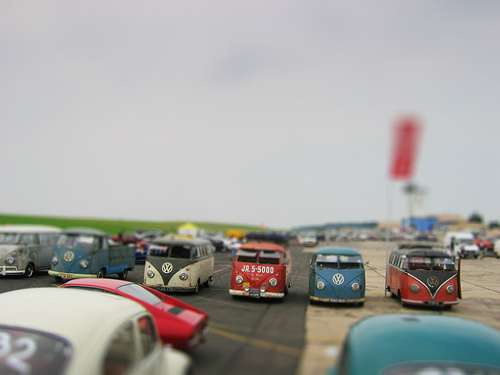
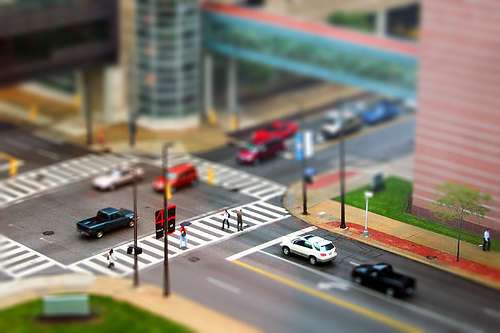
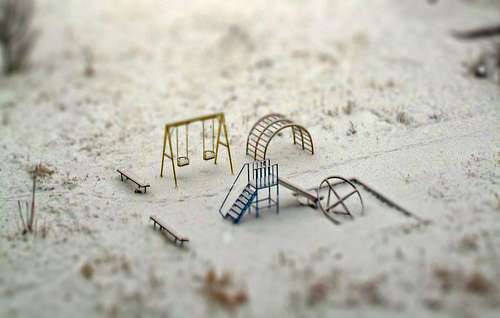
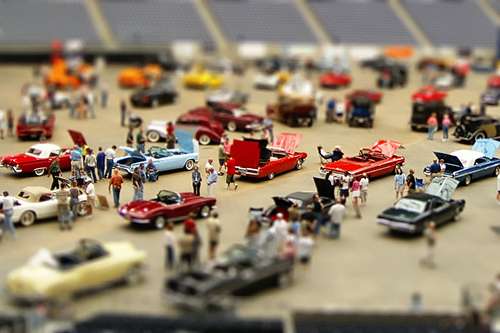
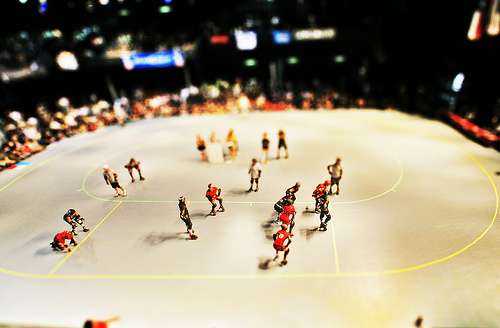
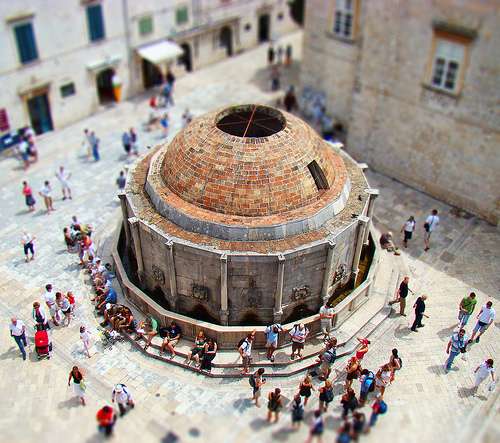
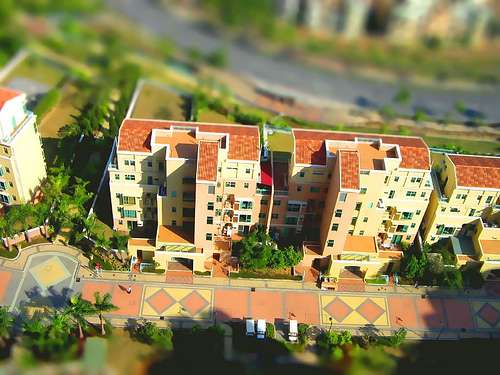
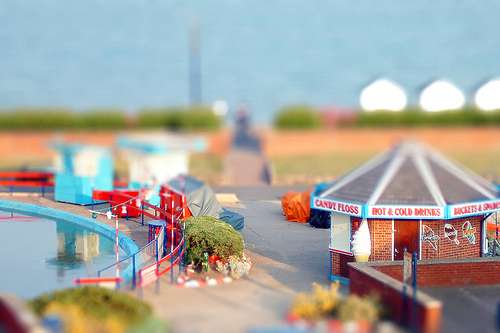
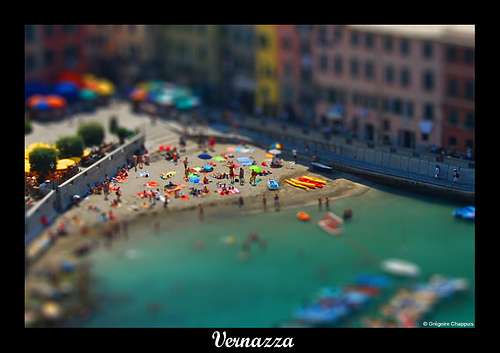
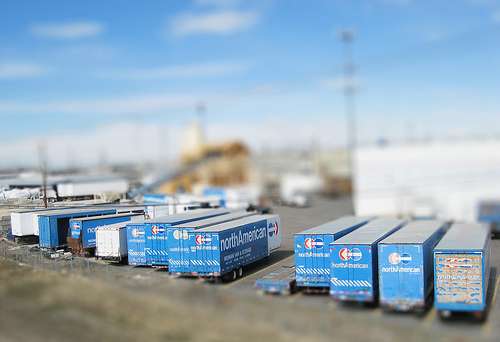
Not long ago, I wrote a tutorial on how to achieve this fake miniature effect on your photo. Now, it's time for some inspiration if you decided to try one. I personally thought the vibrant coloring is what makes all these images interesting. Well, we all know how colorful our lego set is...those yellow lego people wearing helmet and all. Anyway, this effect is called tilt-shift effect as well..works perfect with photos taken from an elevated angle if you haven't noticed it. Just have to put those keywords up here..it's good for SEO or something like that.


Image credit


Image credit


Image credit


Image credit


Image credit


Image credit


Image credit


Image credit


Image credit


Image credit


Image credit


Image credit


Image credit


Image credit


Image credit


Image credit


Image credit


Image credit
 

About

Site Info

I share information,tutorial for those who want to learn. This blog is new and open to all, if you also want to become part of this blog and share your knowledge. I welcome you, just contact me using facebook or email. I hope everyone will learn something new from my blog. Sharing is Caring !!!

Tutorialz Geek - By Zaid Shakil Copyright © 2010