1. First, open your image. For this tutorial, we'll have to start with a colored image.
2. Next, we're gonna convert this colored image into a black and white image. Follow our tutorial on Converting your Picture into a B&W Photography to complete this step.
3. After you're done with step 2, your layer palette should look like this:
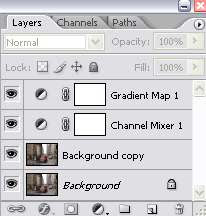
Click on the eye icon to the left to make the original image invisible.
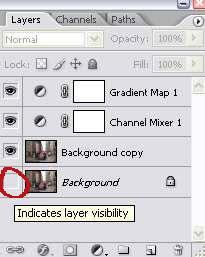
Then, click CTRL+SHIFT+E to merge all the visible layers. Here's your layer palette now:
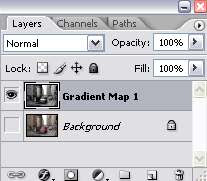
4. Set the original layer back to be visible by clicking the box where the eye icon is.
5. With the B&W layer selected on the layer palette, click the 'Add Vector Mask' icon at the bottom of the layer palette.
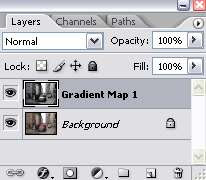
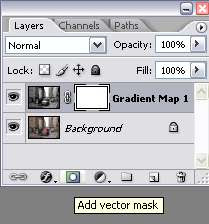
6. Make sure the foreground color is set to black and the background color is set to white. If it's not, click D on your keyboard to set it to default and use the small arrow to switch back and forth between background and foreground color.

7. Select the Brush Tool and choose a soft, round brush. Set the brush size depending on the size of your image. Mine is set to size 13.
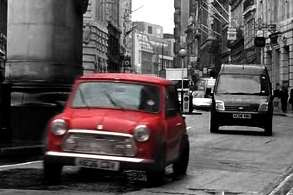
8. Then, just paint on the area where you want the color to be visible. I chose to make the red color of the car to be visible and everything else around it is black and white.
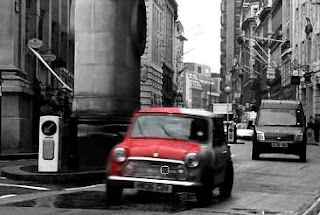
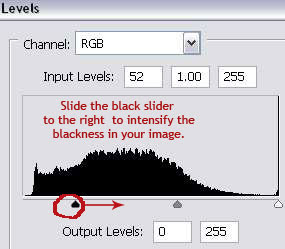
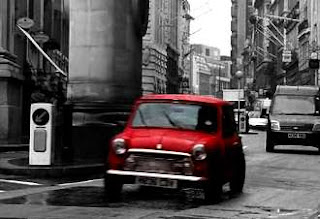
9. From the picture above, you'll see that the red is not really intense and I want the red to be more vibrant. To achieve this, with the original background layer selected in the layer palette, go to Layer > New Adjustment Layer > Levels. Just follow the instruction in the picture below.
10. Here's your layer palette now.
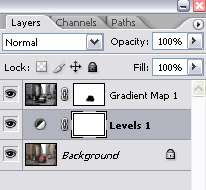
And your image before and after the level adjustment.


0 Comments:
Post a Comment